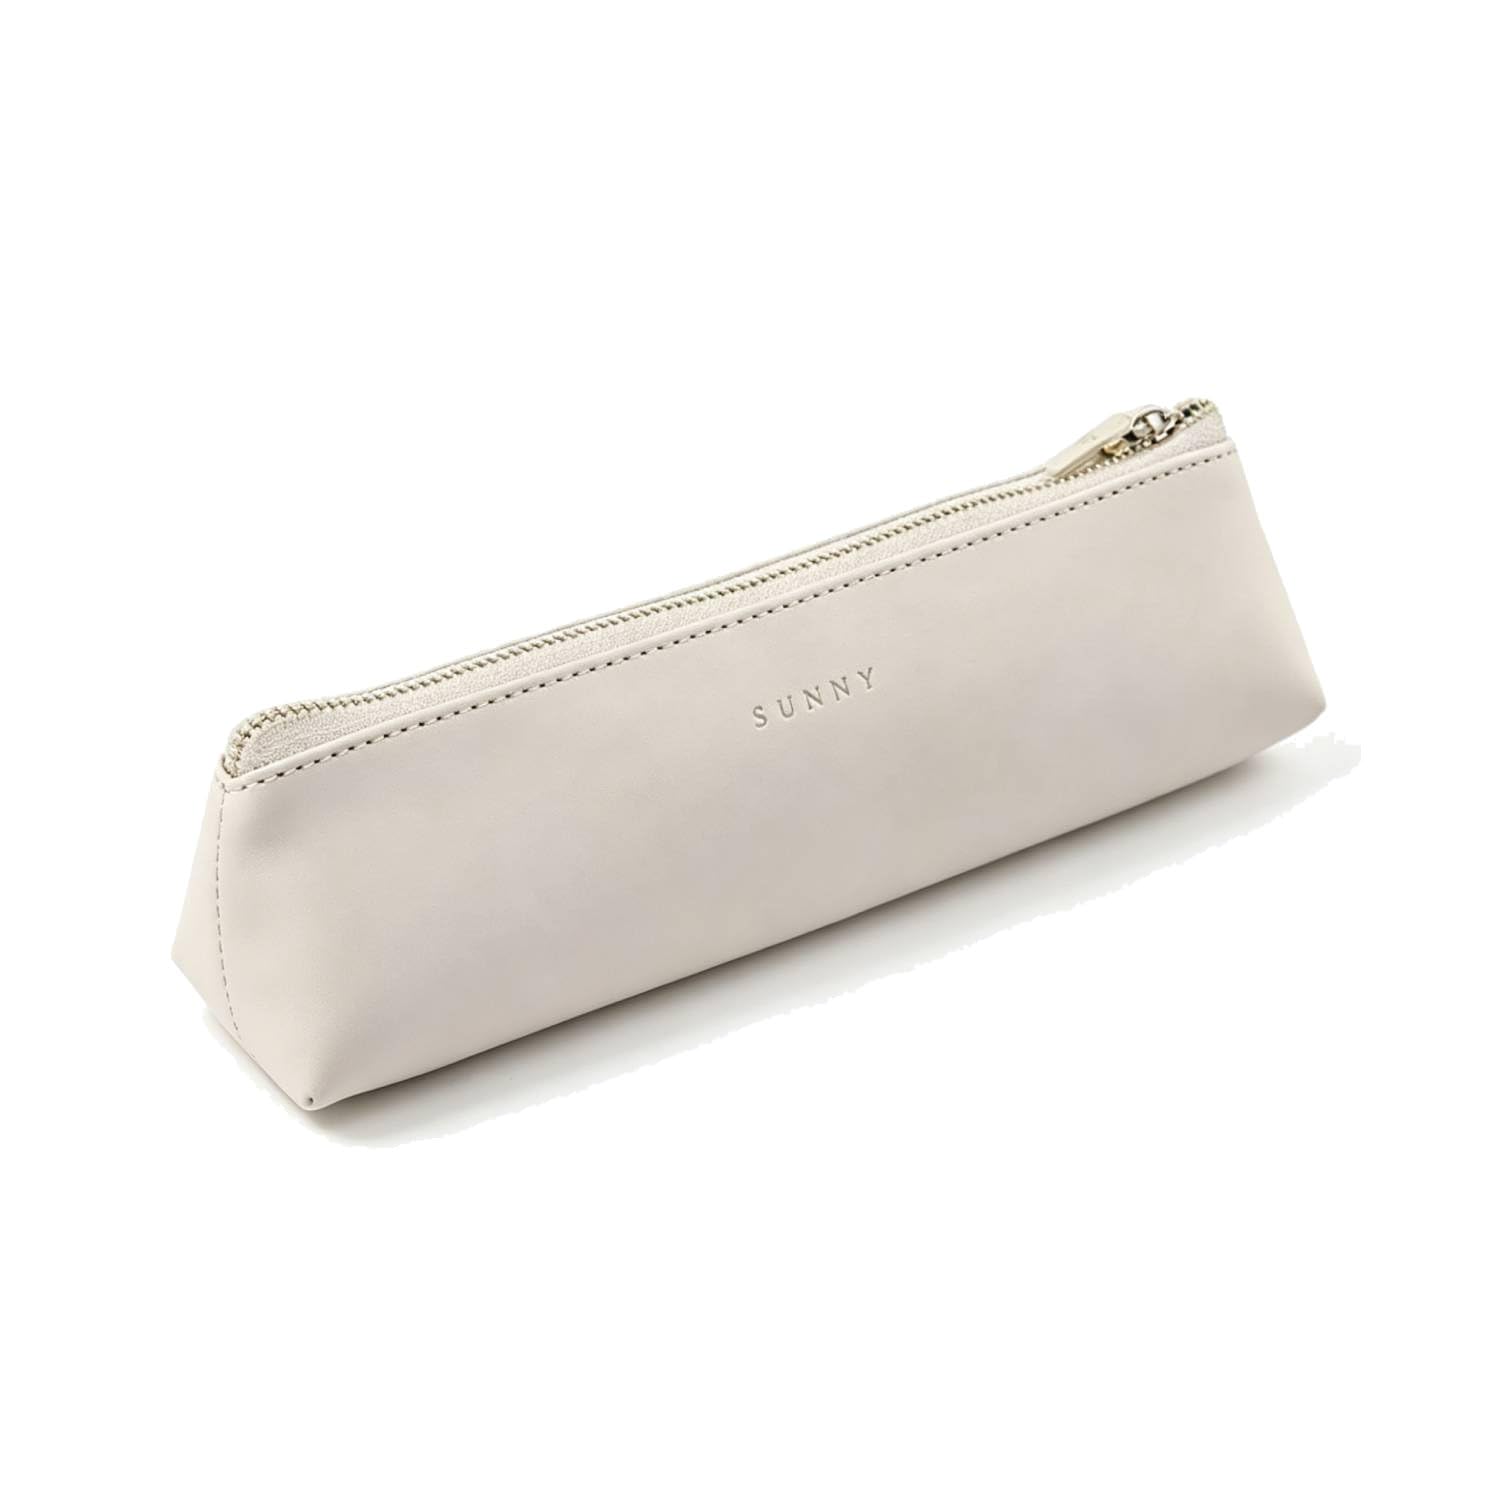
Building a refillable everyday kit
A refillable kit keeps the parts that last — the barrel, the mechanism — and replaces only the parts that wear. For someone who writes on most days, that is four items that cover a full week: a refillable gel pen, a refillable push-pull eraser, a tear-off memo pad and one pouch to carry them.
The idea
Refillable is usually sold as an environmental choice. The more useful argument is arithmetic: a pen body lasts years, a cartridge lasts weeks, and the difference in cost over twelve months is not small. The same is true of a push-pull eraser, where the thing that wears out is a stick of rubber that costs a fraction of the whole.
What belongs in the kit
- One pen body. Refillable, in the tip size you use most. Two refills in the case.
- One refillable eraser. The push-pull style, because the mechanism is what you would otherwise throw away.
- One pad. A tear-off memo pad for lists and reminders — the sheets come away cleanly instead of tearing down the glue line.
- One pouch. Big enough for the above plus a small pair of scissors. A pouch that is already full the day you buy it is a pouch that stops being used.
Why not just buy more pens
Because the failure mode is always the same: five pens of the same colour, none of them the one you want, and no paper. A kit is a fixed set of roles rather than a collection, and it is the reason a kit stays packed while a drawer of pens does not.
Keeping it packed
The kit only works if it is refilled the day something runs out, not the day you next need it. Two minutes at the end of a session is the whole maintenance cost.
The process
Step by step
- 1
Pick the tip size you reach for first
Look at what you actually used this month rather than what you think you prefer. Buy the body in that size and two refills with it.
- 2
Test the eraser on your own paper
Five passes over one pencil line. A good soft rubber leaves the surface white and intact; a poor one polishes it to a shine before the graphite is gone.
- 3
Size the pouch to the kit, minus 20 percent
Leave a fifth of the pouch empty. A full pouch has to be tipped out to be searched, which is why full pouches get left at home.
- 4
Write what you use on the refill box
The date you swapped a cartridge, in pencil on the box. After two swaps you know your own refill interval and can buy ahead.
- 5
Refill at the end of the session
The habit that makes the whole thing work. A kit refilled immediately never fails you at the start of a session.
Small things that matter
- Buy refills two at a time. One in the case, one in the drawer — the drawer one is what stops you going back to a disposable.
- Keep the eraser away from marker caps and rubber bands; both soften the compound over time.
- Wipe a glazed eraser on scrap paper to renew the surface instead of pressing harder. Pressure is what scuffs paper.
- A pouch with a wipe-clean exterior survives a bag far better than fabric, and does not pick up graphite the way woven nylon does.
Made something with these?
Readers post their finished pages on the Journal wall — a photo and a line about how you built it is plenty.