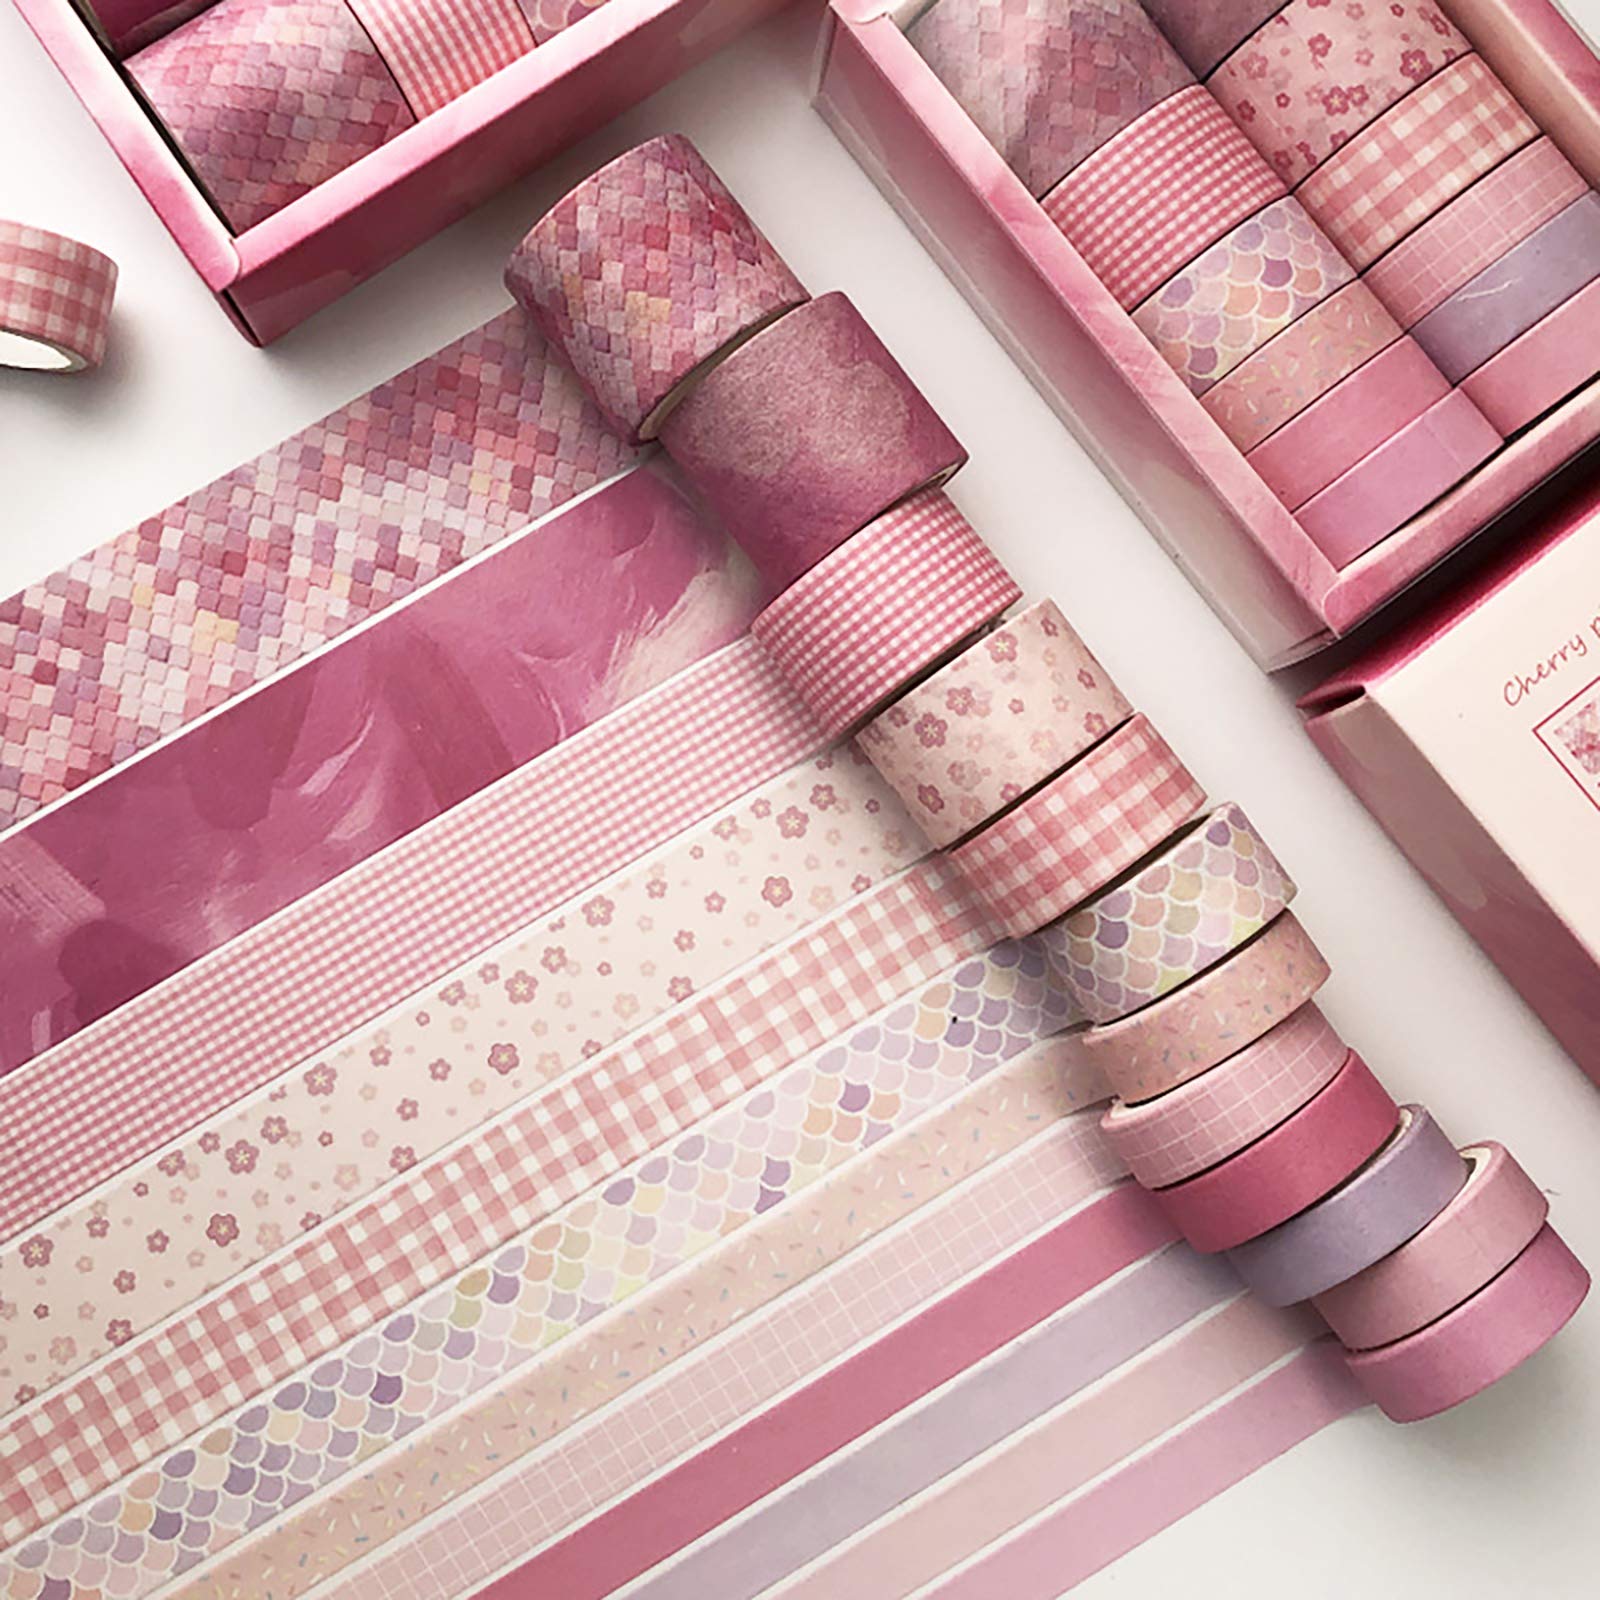
Washi tape: three uses that do not look like tape
Washi tape is low-tack, semi-transparent and tears by hand, and each of those three properties is a technique. Run it along a page edge for a border, tear it for a soft collage edge, or overlap two rolls for a colour the roll does not have. A straight full-width strip is the one use that looks like packaging.
The idea
The tell of an amateur washi page is a horizontal strip of tape holding nothing. It is the first thing people do with a roll and the first thing to grow out of, because tape used as tape is the least interesting thing it can be.
1 — Edge, not stripe
Run the roll along the outside edge of the page or the edge of a photo and let it bleed off the paper. It reads as a printed border rather than an applied strip, and it frames the spread instead of cutting it in half.
2 — Tear, do not cut
Washi tears along its fibres with a white, feathery edge. That edge is the entire reason to use it over masking tape: it makes a straight line feel drawn. Tear toward yourself, slowly, and vary the direction so the two edges are not mirror images.
3 — Layer for a colour that does not exist
The paper is semi-transparent, so overlapping two rolls produces a third colour. A yellow over a blue reads green; a white over anything reads pastel. This is how a small set of rolls covers a lot of palettes — and it is why a translucent roll is worth more than an opaque one.
When to use the dispenser
A dispenser earns its place on long straight runs and on very thin rolls that go slack in the hand. For tearing, nothing beats a bare roll, so most people end up with both: rolls for collage, a dispenser for borders.
The process
Step by step
- 1
Test the tack on scrap first
Press a length onto the paper you are using, then lift it. Washi should come away without lifting fibres; if it does not, stick it to your sleeve once before it goes on the page.
- 2
Tear a length longer than you need
Always overshoot. A torn piece can be trimmed back, and the torn end is usually the better-looking one.
- 3
Lay the tape from the middle outward
Press the middle down first, then work out to both ends. Starting at one end guarantees a wrinkle at the far end.
- 4
Overlap deliberately at the edges
Where two strips meet, overlap by a few millimetres rather than butting them. The overlap looks intended; a gap looks like a mistake.
- 5
Burnish with a fingernail
A quick press along the whole strip beds the tape into the paper texture. It is the difference between tape that lifts at the corner next week and tape that stays.
Small things that matter
- Write on washi with a gel pen, not a marker — the paper takes ink from a ballpoint tip and bleeds a felt tip.
- Store rolls on a rod or in a box, not loose in a bag. Dust on the adhesive is what makes a roll stop sticking halfway through.
- Keep one roll in a planner. The roll you have with you is the only one that gets used.
- A torn strip is a bookmark. Fold a length over the top of a page and it stays put without a clip.
Made something with these?
Readers post their finished pages on the Journal wall — a photo and a line about how you built it is plenty.